Step 1. Assess customer needs
- Meet with client to understand their needs in terms of design and quantity of bespoke corporate uniforms.
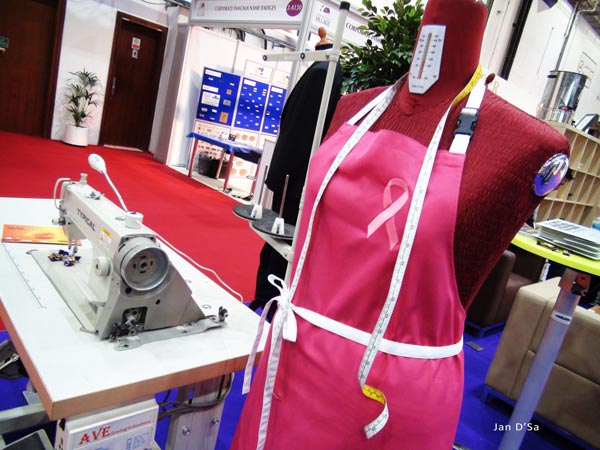
- Show the catalogue range of options for suiting, chef aprons and more. The builder section of the catalogues enables the clients to choose the colour, style of the clothing, fabric and thread, all in one book.
- Clothing a minimum staff of 2,500 to 6,000 requires the bespoke design Option route.
- Option 2 was catered towards bespoke design where they were clothing a minimum staff of 2,500 to 6,000.
Step 2. Design the items
- Start generating options for the bespoke corporate uniform as per the brief received from the client. This is a vital step before the team jump into the product development stage.
- This step involves back and forth approvals between Ronai and the client.
- David is usually the one who comes up with the creative concept on paper (or computer as you can see below).
- According to David, whatever pattern and design is chosen, it should look good on anyone in the company – from 18 to 80 years. Which is why the design has to be timeless.

David starts to work on a design for a client
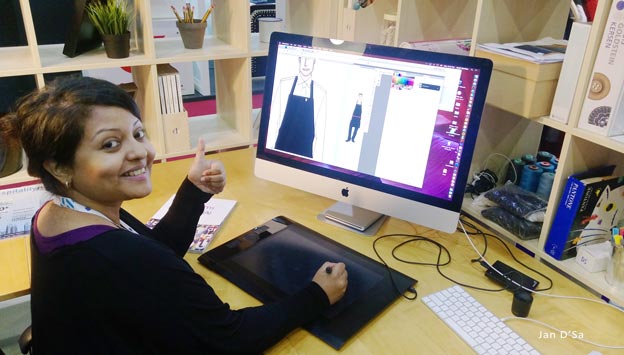
My ideal desk space.
Step 3. Select the right fabrics
- Once the client has approved the style and design, the next stage in the bespoke corporate uniforms creation is to select the right fabrics in line with the kind of work that the staff do (tough and coarse material for the aprons, light materials for the scarves, breathable materials for the shirts and skirts).
- Logo placement is usually left to the last steps in the process lest the client decides to change the placement at a later step.
- Ronai works with trustful sources for its fabric sourcing. Their cotton mills are located all over the world.
- As the clients wear their uniforms for a minimum of a year, it is imperative that the fabric is of good quality and also durable. Moreover, the fabric they source has to withstand any harsh laundry washing methods and has to be shrink-free and not lose colour.
- For softer material, like the scarves used for dnata, this is outsourced to a specialist factory who works with poly chiffon (and not silk chiffon) so that it doesn’t weight the scarf down and spoil the ‘design’ effect.
- My favourite material which looked like jeans was actually apron material – it was thick, almost impervious to anything.

A fabric trove for those who love fabric and thread.
Step 4. Create the selected patterns on fabric
Now this is the step that I am familiar with, considering that my mother, throughout my childhood and right up to adult hood used to design and stitch my clothes. Several trips to textile shops as well her cutting the fabric and stitching away was a common part of my life in those days. To this day, she will still stitch some of my clothes, considering that I don’t find my size easily in shops. Unfortunately, unlike my mother, I can’t stitch for the life of me, though I have an eye for design and colour. This is where my affinity for seam-stressing and stitching stops!
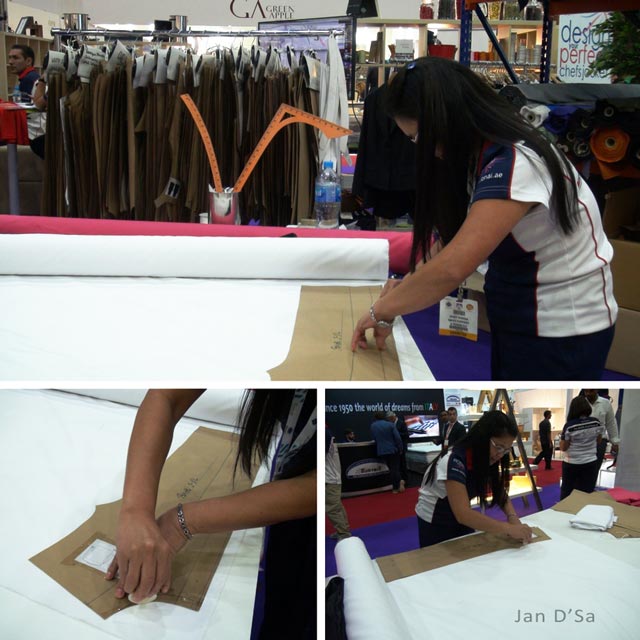
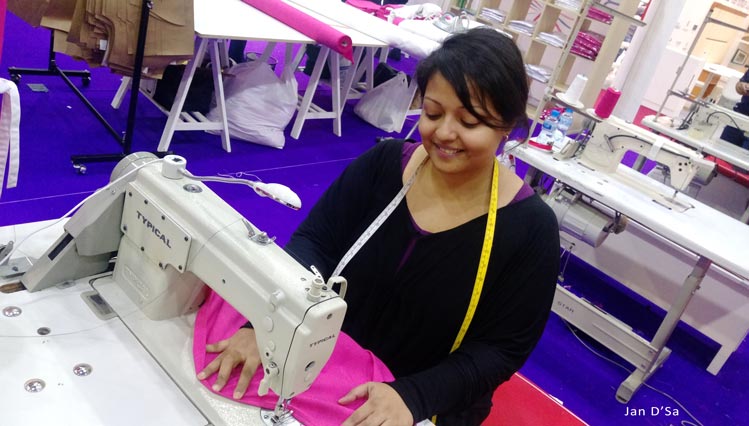
- The Ronai set up in Al Quoz is used for small runs of work. This small set up has 30 tailors or machinists who start with the cutting fabric for smaller quantities of fabric. It is almost an assembly line of fabric cutting through to stitching various parts of the suiting.
- Each machinist is charged with one task. That’s right. So one machine will sew the buttons onto the suit, say, while another will fuse the stiffener to the collar of the jacket. Yet another will focus on adding the lining. That way, the efficiency of the process is increased. One will sew just the Burton’s, the other will add the pocket lining, yet another will fuse the stiffener to the collar.
- To make a suit, ten machinists are required. David did reassure me that from time to time, the machinists’ role in the process of making the suit changes. That means, the machinist stitching buttons for one round will not be doing this task for the rest of her time with Ronai.
Machinist #1 – cutting
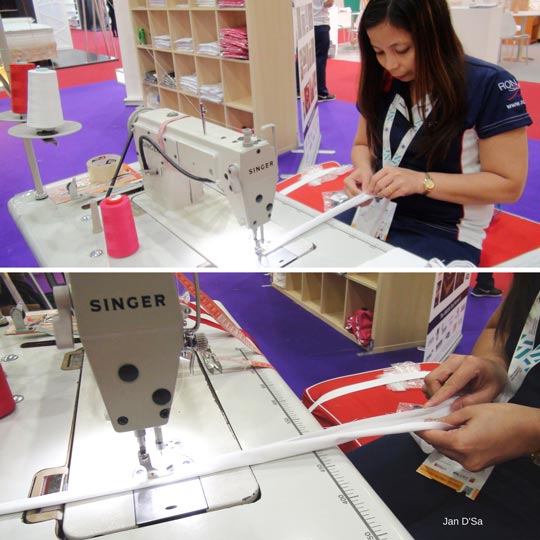
Machinist #2 – tubing
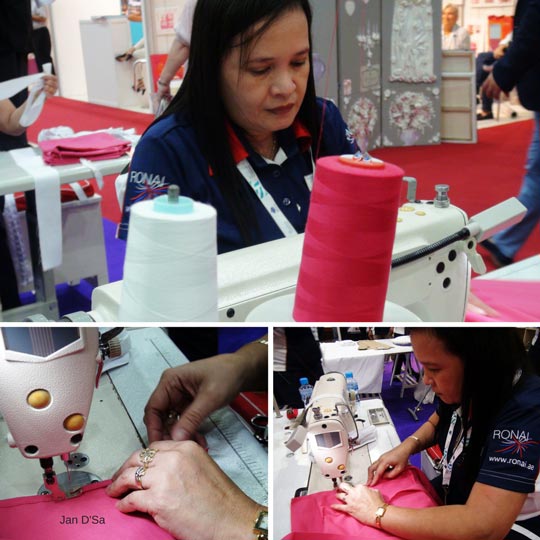
Machinist #3-Hemming
I just had to try, or pretend I was trying!
Question: What is the process of stitching for larger runs?
- Ronai has partnered with a factory to handle such a volume of cloth. In this case, David explains that an automated machine blade slices through the stacked of trousers or shirts in one go. I am imagining this to be a gigantic version of a paper cutter in a way.
- The blade is connected to the computer which records how the pattern pieces (think sleeves, pockets, etc) can be laid in a way that reduces fabric wastage. Each one is then bundled in sizes and have to be labelled accordingly in order to prevent errors.
- They always leave some leeway for the skirt and trousers length so that the staff can be fitted correctly. Minor alterations are made and the staff are on their way, looking like a winner.
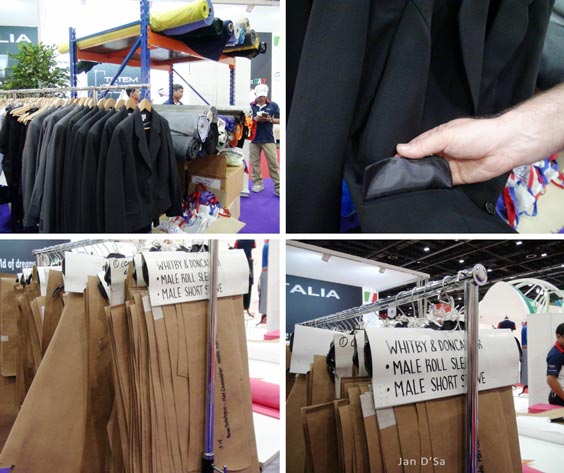
Top row – David shows the lining that has been stitched on by a machinist. He was walking through the assembly line process. Bottom row – the standard templates for the various clothing, carefully marked for easy identification.
It looks like it takes a lot of great time and effort to make the corporate uniforms. I had no idea what the process looks like. This is really cool! My daughter loves designing fashion and she wants to start sewing her own clothing styles. She’d love this piece!
This is a great post! I am considering getting items with my brand and it is interesting how the process works when something like this is done.
This looks like a very useful and great business idea to create corporate uniforms. Nice to see the process.
This is an interesting rundown on the uniform process! Thanks for sharing how in depth it is.
This was really interesting! Reminds me of my days in fashion school and learning about manufacturing.
La Belle SireneÂ