Abu Dhabi, 2013: This follows my previous article on Pottery Making workshop experience. I was delighted to see the pieces had survived the drying process. Those who love colours, you can imagine how delighted I was in being informed that the moment of choosing the colours and the glazing had arrived.

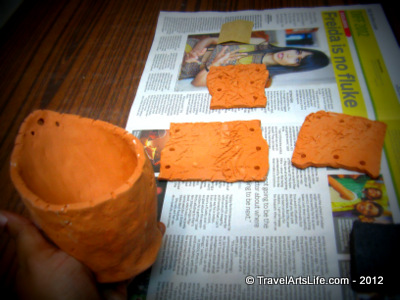
My finished pieces from Part I. All dried up and ready to be glazed.

My finished pieces from Part I. All dried up and ready to be glazed.


Aah, but first, a bit of sanding and buffing is required before applying the wax and then the glaze.
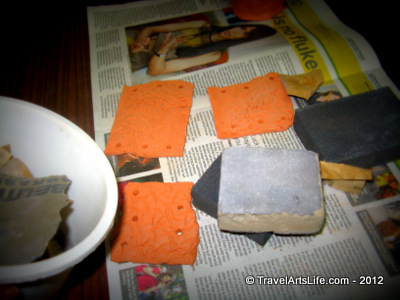
It's Buffing up time. You can choose sand papers of different grit sizes to buff the rough edges, but best advice is to go gentle.

It’s Buffing up time. You can choose sand papers of different grit sizes to buff the rough edges, but best advice is to go gentle.


Aaah, but first, one must finish applying the wax at the bottom of the pieces. This is so that the glazes once they melt will not dribble onto the bottom of the kiln and kill the kiln.
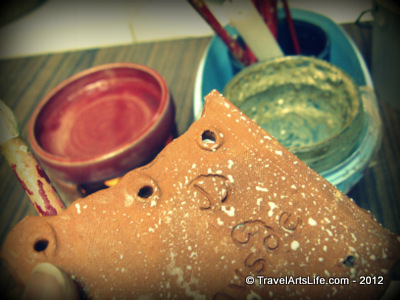
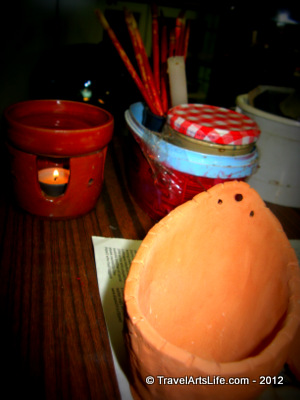
My pot in the foreground. The candle burner and wax in the background.

My pot in the foreground. The candle burner and wax in the background.


The wax is applied to the bottom of the slabs and also whereever we don't wish for the glaze to touch.

The wax is applied to the bottom of the slabs and also whereever we don’t wish for the glaze to touch.
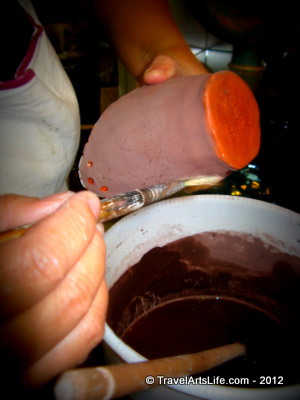
 

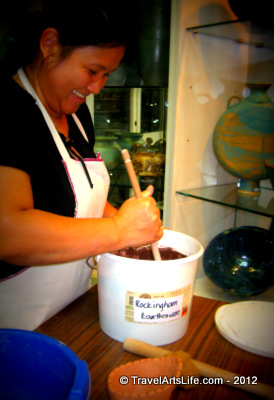
Mary, the assistant is mixing one of the glazes.

Mary, the assistant is mixing one of the glazes.


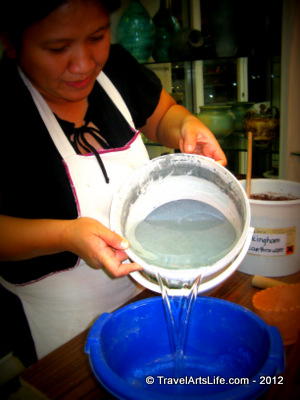
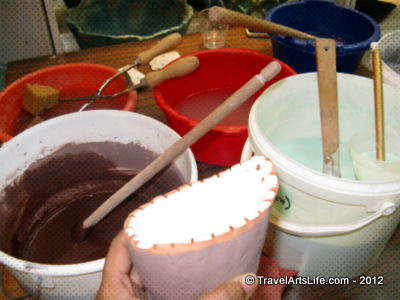
Pouring the excess water from the second glaze colour before stirring

Pouring the excess water from the second glaze colour before stirring


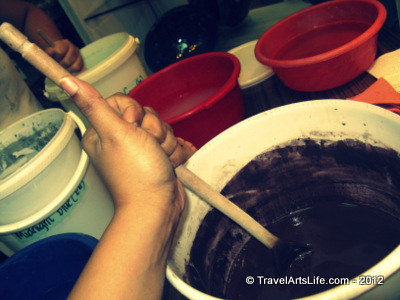
My turn to mix the glaze in with the water. Looks like a dark chocolate puddle

My turn to mix the glaze in with the water. Looks like a dark chocolate puddle


The pot has already been dunked and this is what it looks like. Now time to fire.

The pot has already been dunked and this is what it looks like. Now time to fire.


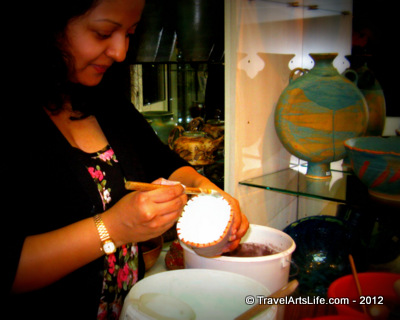
That's me already, Cleaning the edges of the piece after dunking it in the glaze

That’s me already, Cleaning the edges of the piece after dunking it in the glaze


Mary assists me in cleaning some of the 'glaze' dust where ever it is too thick otherwise it may melt away to the bottom of the kiln and ruin it

Mary assists me in cleaning some of the ‘glaze’ dust where ever it is too thick otherwise it may melt away to the bottom of the kiln and ruin it


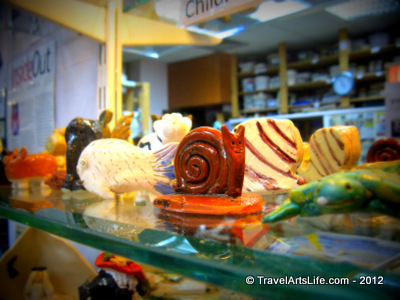
Lovely miniatures in clay already glazed. Can't wait to see my pieces ready to be wired together!

Lovely miniatures in clay already glazed. Can’t wait to see my pieces ready to be wired together!


Visit Abu Dhabi Pottery. Part III is when we finally unveil the glazed pieces and our creative hands finishing the pieces with a bit of crochet wire and 16 gauge wire.